

ABOUT US
WOMAN OWNED AND OPERATED
SINCE 1986
TOP QUALITY
We partner with leading flooring brands worldwide to deliver exceptional quality and lasting performance for every space.
BEST CUSTOMER SERVICE
We are known for our personalized service; we ensure every customer feels valued, regardless of project size.
OVER 39 YEARS OF EXPERIENCE
We’ve earned our reputation as the trusted choice in the community, thanks to our team of expert professionals in both the showroom and installation crews.
FAIR PRICING
We work with every budget to offer great flooring at competitive prices. We offer fair pricing without compromising on Quality.
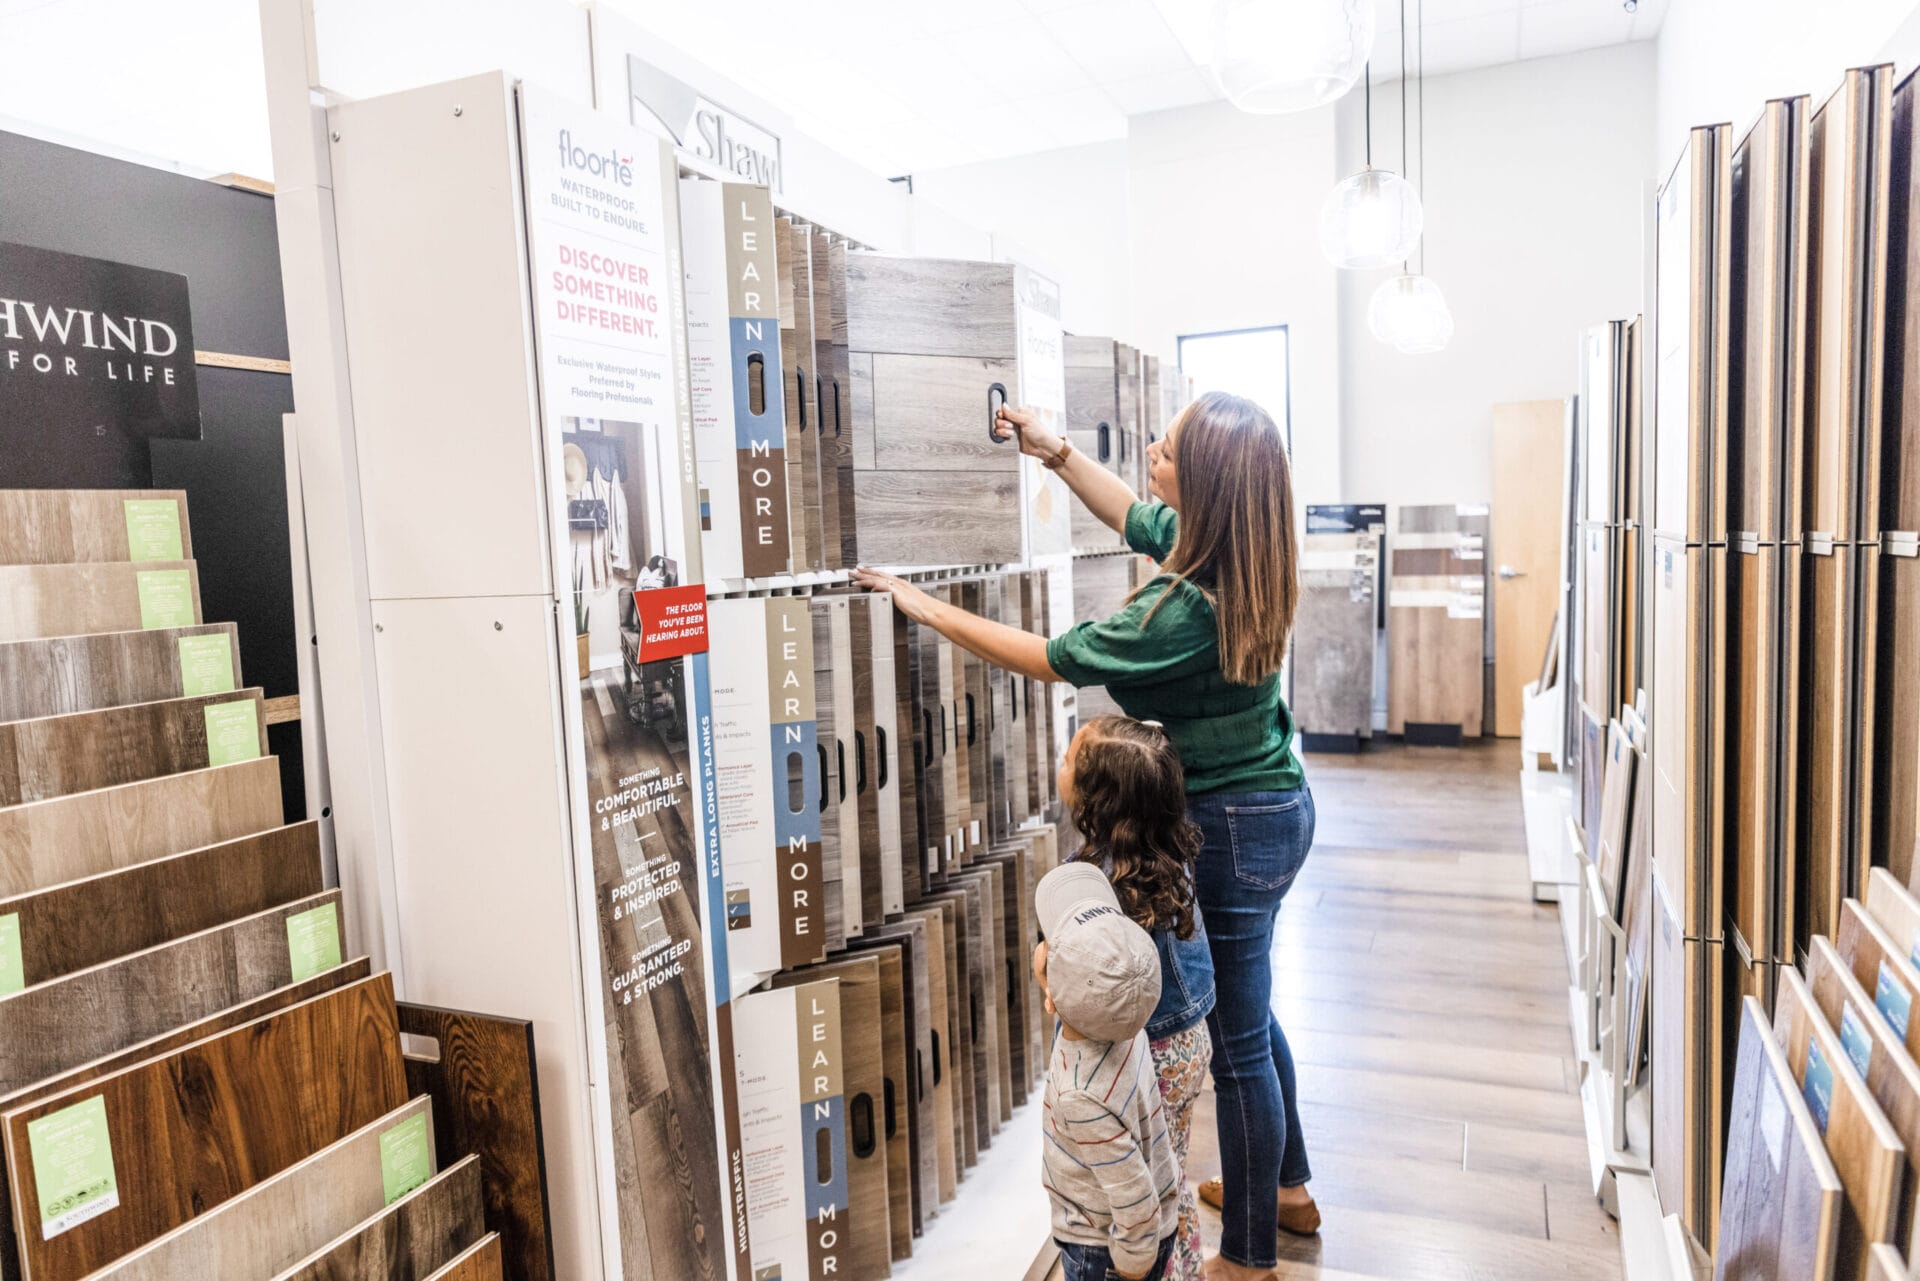
FLOORING PRODUCTS
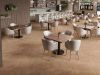
OUR FLOORING SELECTION

HARDWOOD FLOORING

RESIDENTIAL CARPET

COMMERCIAL CARPET

WATERPROOF VINYL

COMMERCIAL FLOORING
BROWSE OUR PRODUCTS
CONTACT
GET IN TOUCH WITH US
DURA FLOORING
PHONE NUMBER
ADDRESS
EMAIL ADDRESS
WORKING HOURS
MON-FRIDAY : 7:00 AM – 5:00 PM
SAT : 7:00 AM – 2:00 PM
SUN : CLOSED
Areas We Serve
REQUEST A FREE ESTIMATE

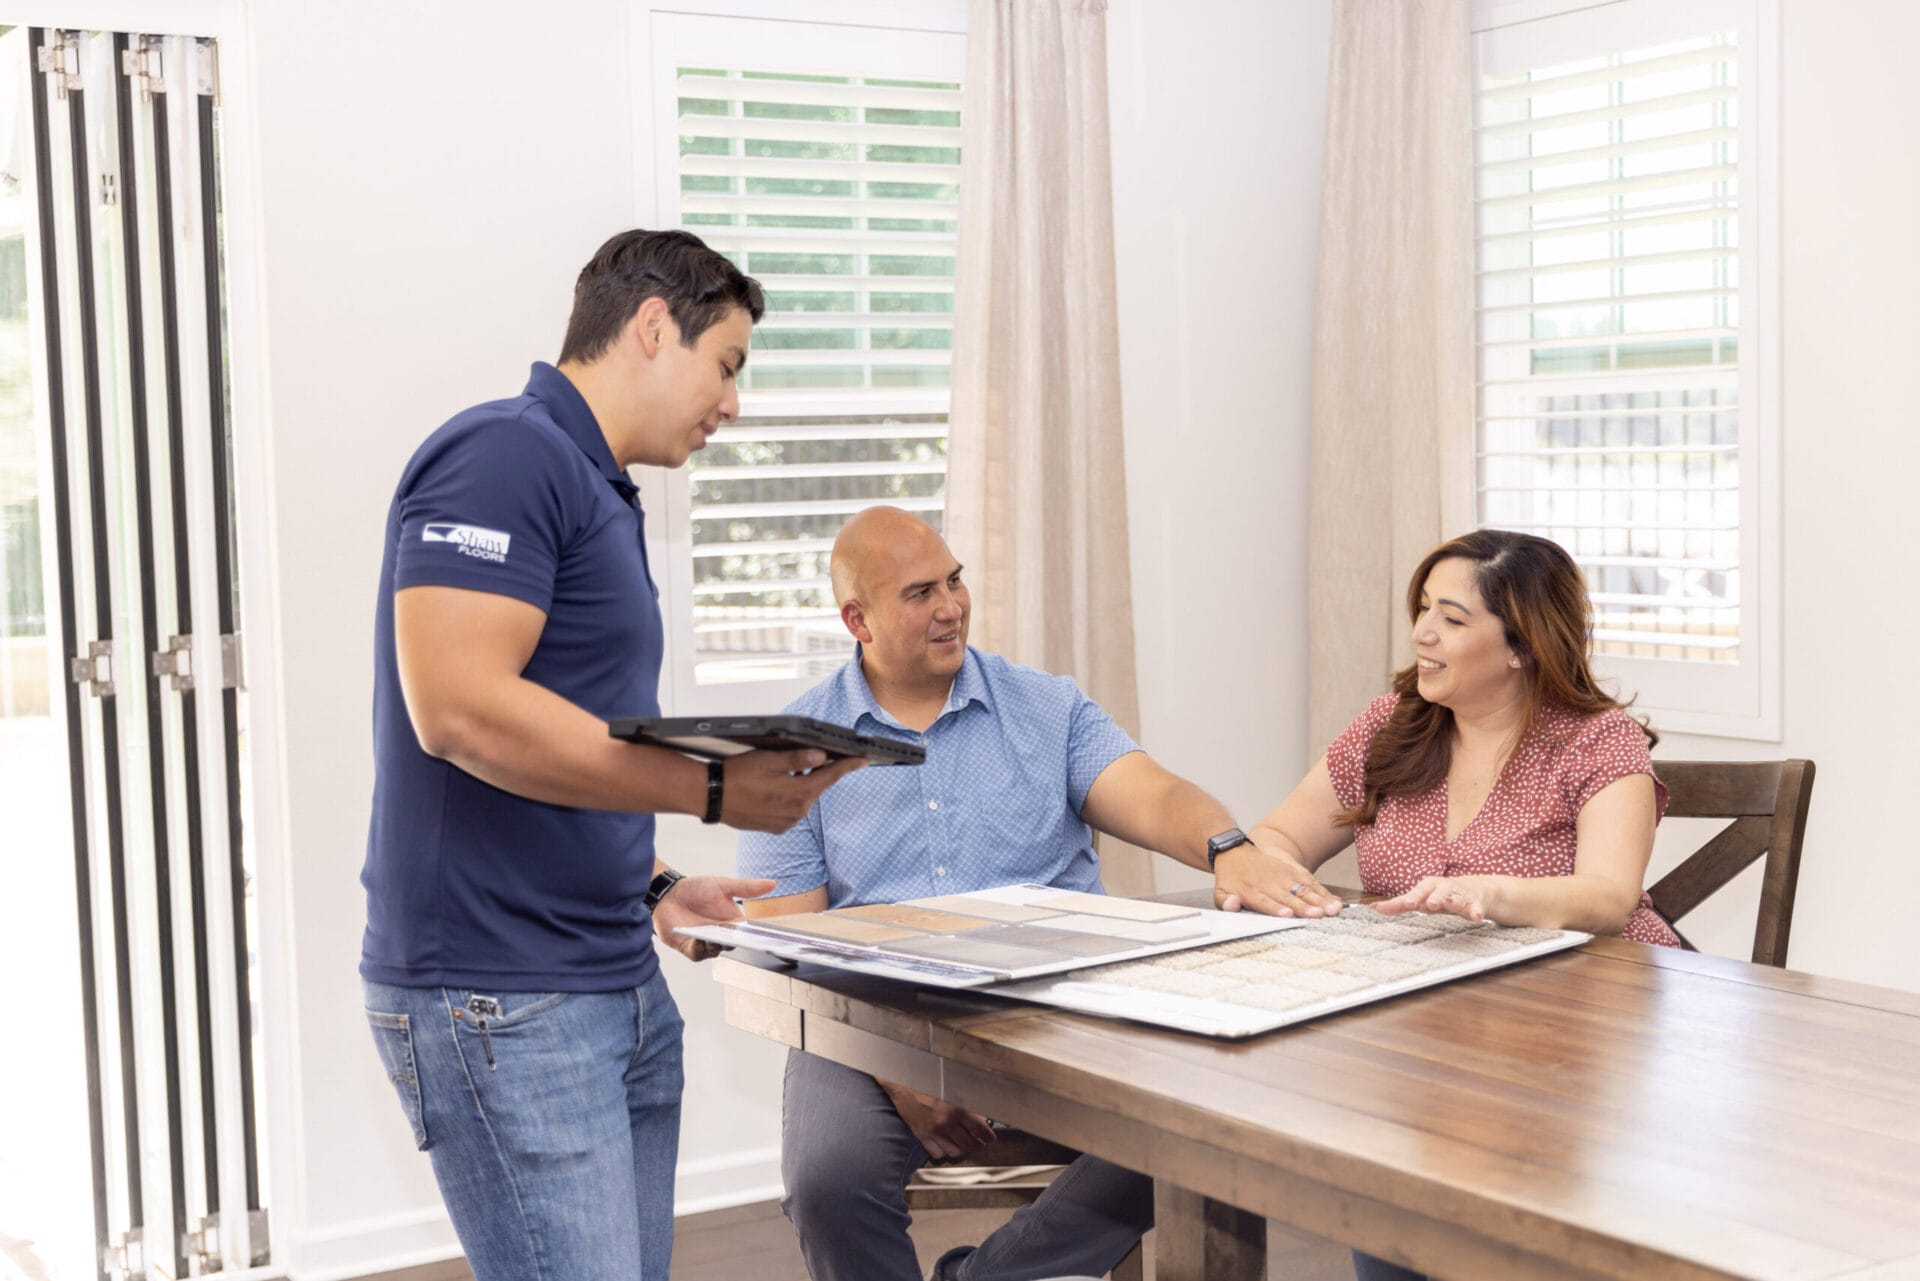
WHY CHOOSE US
REASONS TO CHOOSE US
PERSONALIZED SERVICE
Our professional flooring installers are ready to help you with your next project.


TOP QUALITY PRODUCTS
Discover Our Range of Premium Flooring Products in Commerce, CA.
FREE ESTIMATE
Request your accurate and professional in-home flooring estimate.

OUR TEAM
WE WILL SERVE YOU WITH THE BEST OF OUR CAPACITY BY EXPERT TEAM

TESTIMONIALS
WHAT OUR CLIENTS SAY
Here at Dura Flooring, our satisfied customers speak about their experience with us. From homeowners to business owners, our customers praise the quality of our products, the professionalism of our team, and the seamless installation process. Read on to discover why our customers trust Dura Flooring for all their flooring needs.
I want to Thank Manuel De La Torre, it only took 2 days to remove carpet and install Vinyl Plank Norwegian Maple flooring and I’m pleased with how it turned out. Installers are professionals.
Michael Tamez
Your installers, Robert and Armando, were very professional and did a fabulous job. The rooms look phenomenal where the new carpeting was installed.
Ernest Vargas
Dura Flooring did an great job on my LVP installation in my living room, dining room, kitchen and family room. They handled all the furniture with care, cleaned up when they were done and my new floors look fabulous!
Terri Daxon
Excellent install, great communication, would highly recommend!
Justin Wilcott
Dealing thru Costco with Dura Flooring was an excellent experience. Highly recommend. Israel who came to my home with samples was very nice and informative. Scheduling was easy and the final cost was acceptable.
Linda Guthrie
INSPIRATION
FLOORING EXPERIENCES IN COMMERCE, CA


OUR BRANDS
EXPLORE OUR TRUSTED FLOORING BRANDS