Carpet Flooring
Expert Carpet Installation Guide by Dura Flooring
| Aug 22, 2024
When it comes to transforming the look and feel of a room, few flooring options can match the warmth and comfort of carpet. Whether you’re considering wall-to-wall carpeting for a cozy living room or a plush bedroom, the installation process is key to ensuring your new floor looks great and lasts for years to come. As your trusted carpet flooring store in Commerce, CA, Dura Flooring provides you with this comprehensive guide to carpet floor installation.
Preparing for Installation
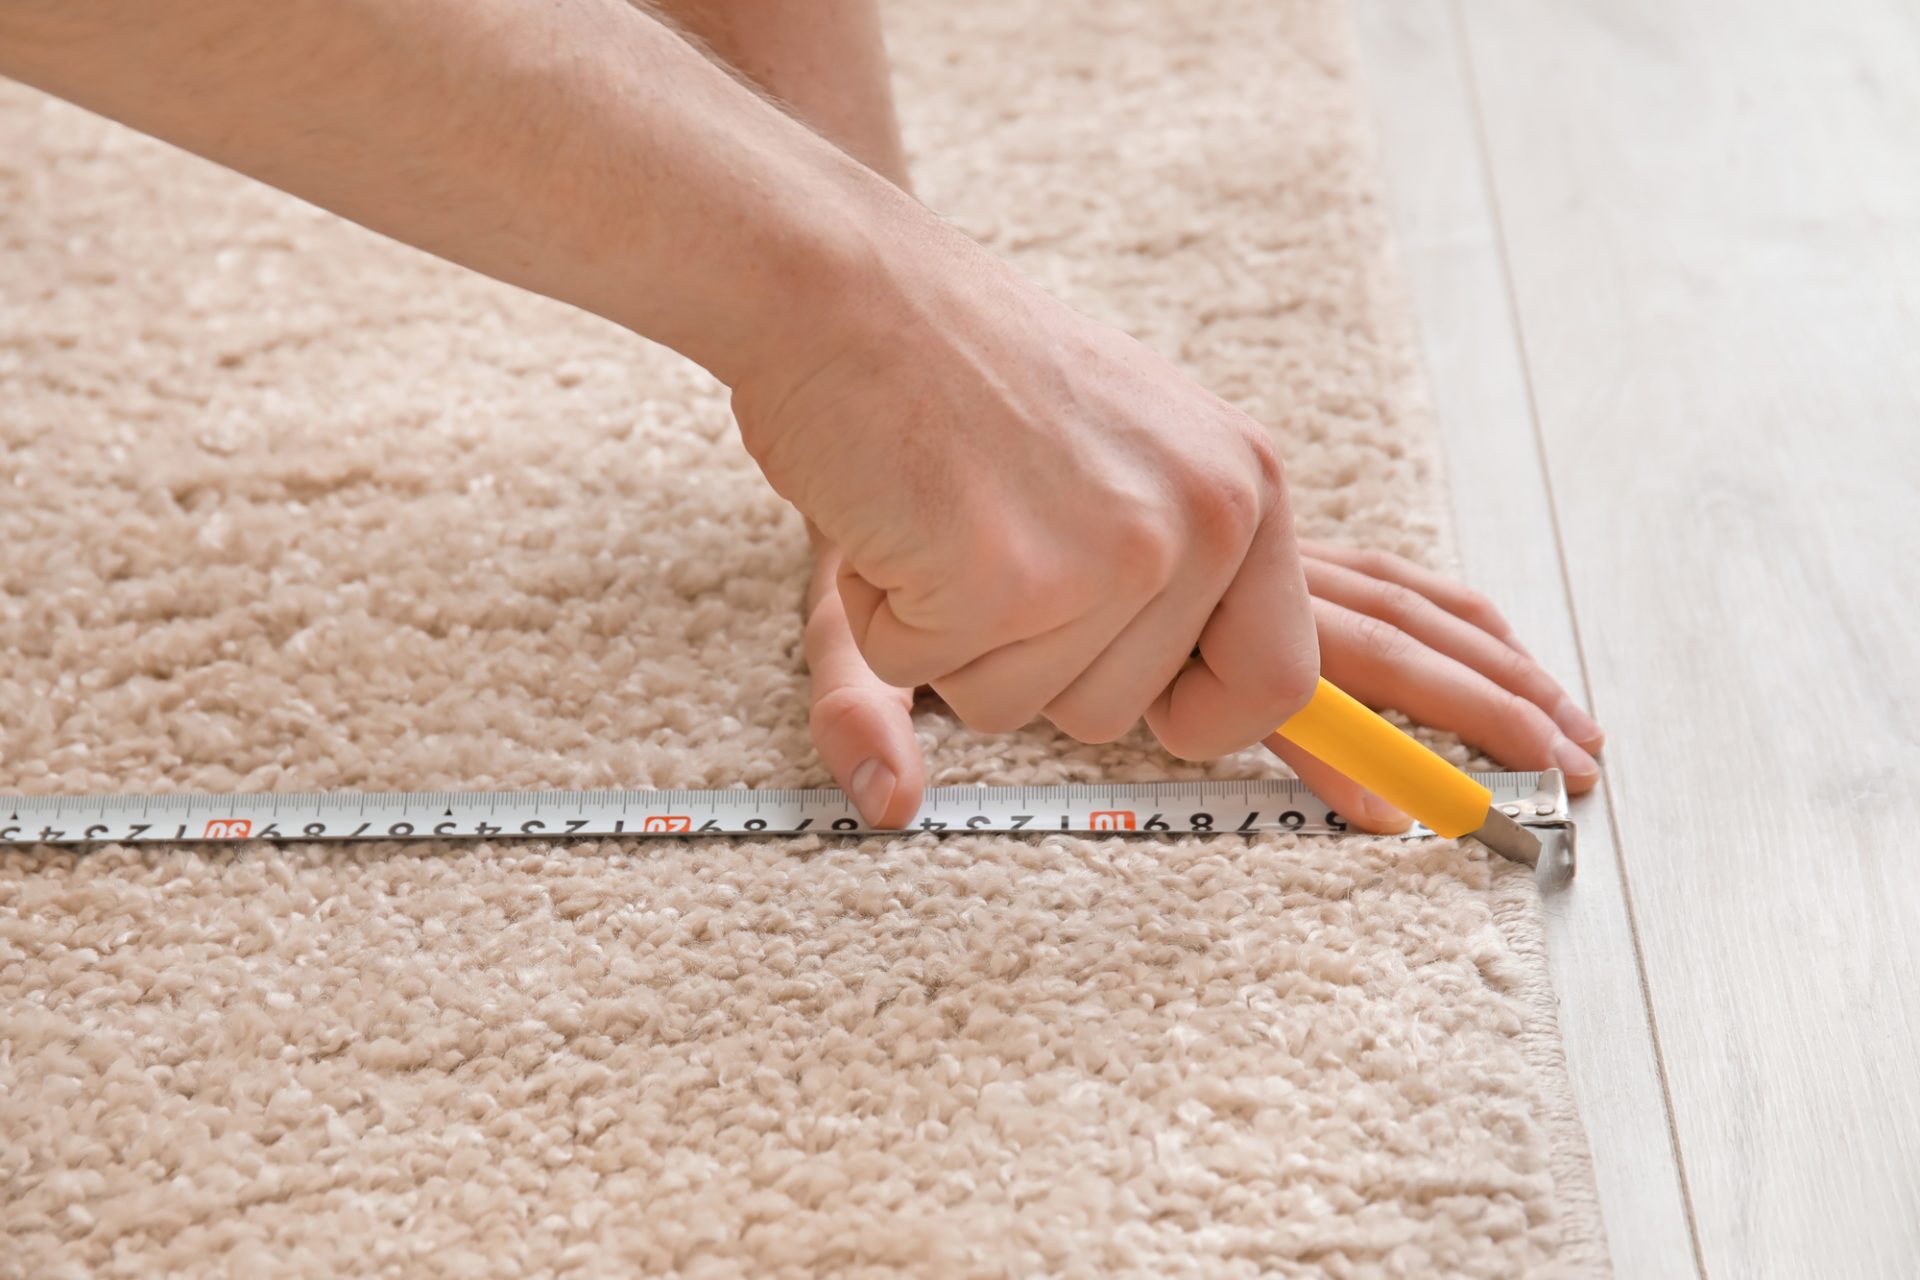
Before you start the carpet installation process, it’s important to measure the room carefully. Determine the square footage by multiplying the length and width of the room. This will help you purchase the correct amount of carpet and padding. It’s always a good idea to buy a little extra to account for any mistakes or irregularities in the room.
Gathering Your Tools and Materials
To install the carpet, you’ll need a variety of tools, including a utility knife, knee kicker, power stretcher, tack strips, staple gun, and seaming tools like a seaming iron and seaming tape. Make sure you have everything on hand before you begin to avoid any unnecessary interruptions.
Installing the Tack Strips
Start by installing tack strips around the perimeter of the room. These tackless strips, as they’re often called, help secure the carpet in place. The strips should be installed about half an inch from the wall, with the tacks facing the wall. Be careful not to install them in doorways or other areas where they might be exposed.
Laying the Carpet Padding
Next, unroll the carpet padding and lay it over the subfloor. The padding adds cushioning and helps extend the life of the carpet. Secure the padding to the subfloor with a staple gun, making sure it’s smooth and free of wrinkles. Trim any excess padding with a utility knife so that it fits snugly within the tack strips.
Unrolling the Carpet
Once the padding is in place, it’s time to unroll the carpet. Start at one side of the room and unroll the carpet across the floor, making sure it covers the entire area. If your room is wider than the carpet roll, you’ll need to seam two pieces together. Use a utility knife to trim the carpet, leaving about 3-4 inches of excess carpet along the edges.
Seaming the Carpet
For rooms that require more than one piece of carpet, you’ll need to create a seam. Lay the carpet pieces so they overlap slightly, then use a utility knife to cut through both layers at the overlap. This ensures the edges match perfectly. Place seaming tape under the seam, adhesive side up, and use a seaming iron to heat the tape, bonding the edges of the carpet together. Press the seam down firmly, ensuring it’s secure and nearly invisible.
Stretching the Carpet
After the carpet is laid out, it’s time to stretch the carpet into place. Begin by using a knee kicker to attach the carpet to the tack strips along one side of the room. Work your way around the room, stretching the edges of the carpet with the knee kicker to ensure it’s tight and free of wrinkles. For larger rooms, a power stretcher is recommended to achieve a more uniform stretch. The power stretcher uses leverage to stretch the carpet across the room, securing it to the tack strips.
Trimming and Securing the Carpet
Once the carpet is stretched and secured, it’s time to trim the excess carpet. Use a utility knife to carefully cut along the edges, making sure the carpet fits snugly against the walls. Be cautious not to cut too much, as you want the carpet to tuck neatly between the tack strips and the wall.
After trimming, use a carpet edging tool to tuck the edges of the carpet between the tack strips and the wall. This gives the carpet a clean, finished look. If needed, secure the edges with a staple gun, especially in areas where the carpet might see heavy foot traffic.
Finishing Touches
With the carpet in place, take a moment to smooth out any remaining wrinkles or bubbles. If you notice any, use the knee kicker or power stretcher to adjust the carpet as needed. Finally, install any baseboards or molding around the perimeter of the room to cover the edges of the carpet and give the room a polished look.
Special Considerations for DIY Carpeting Installation
While carpet installation can be a rewarding DIY project, it’s not without its challenges. If you’re new to this type of work, consider starting with a smaller room or working with a partner to make the process easier. Pay close attention to the seams and edges, as these areas are critical to the overall appearance and durability of your carpet.
One of the most common mistakes in DIY carpeting installation is failing to stretch the carpet properly. Without adequate stretching, the carpet may develop wrinkles or come loose over time. Using a power stretcher can help avoid this issue, especially in larger rooms.
Another tip is to measure the edges of the carpet carefully before making any cuts. It’s better to cut too little and trim more later than to cut too much and end up with gaps. Take your time and work methodically to ensure a professional-looking finish.
Carpet installation is a process that requires precision, patience, and the right tools. By following this guide, you can achieve a beautiful, comfortable carpet floor that enhances your home’s aesthetic and functionality. Whether you’re installing wall-to-wall carpeting in your living room or a cozy carpet in your bedroom, Dura Flooring in Commerce, CA, is here to provide you with the best flooring solutions and expert advice.